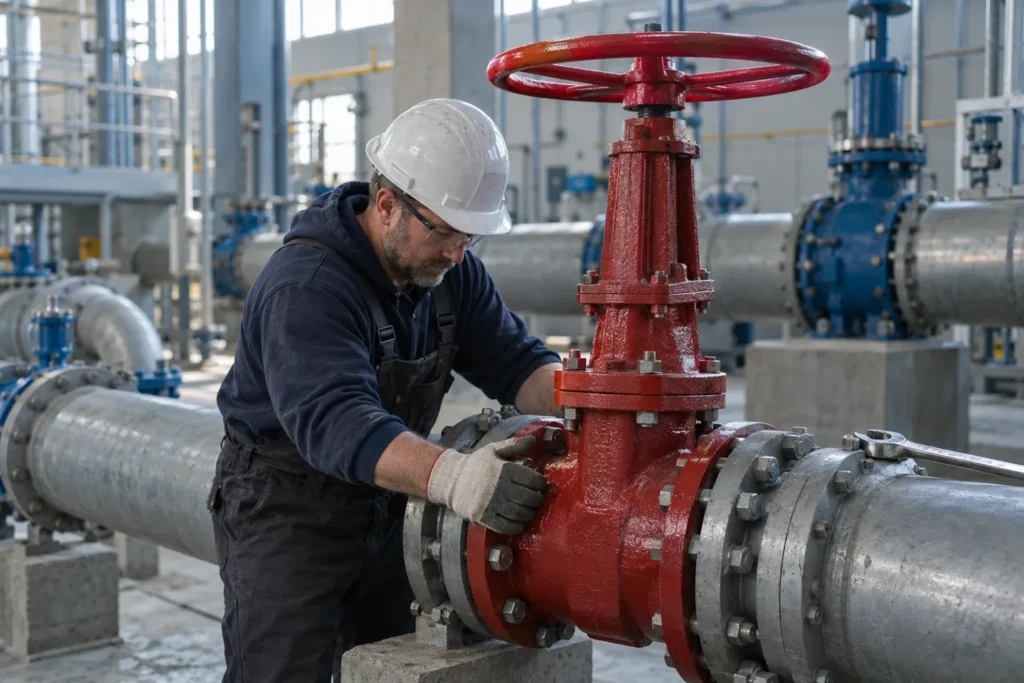
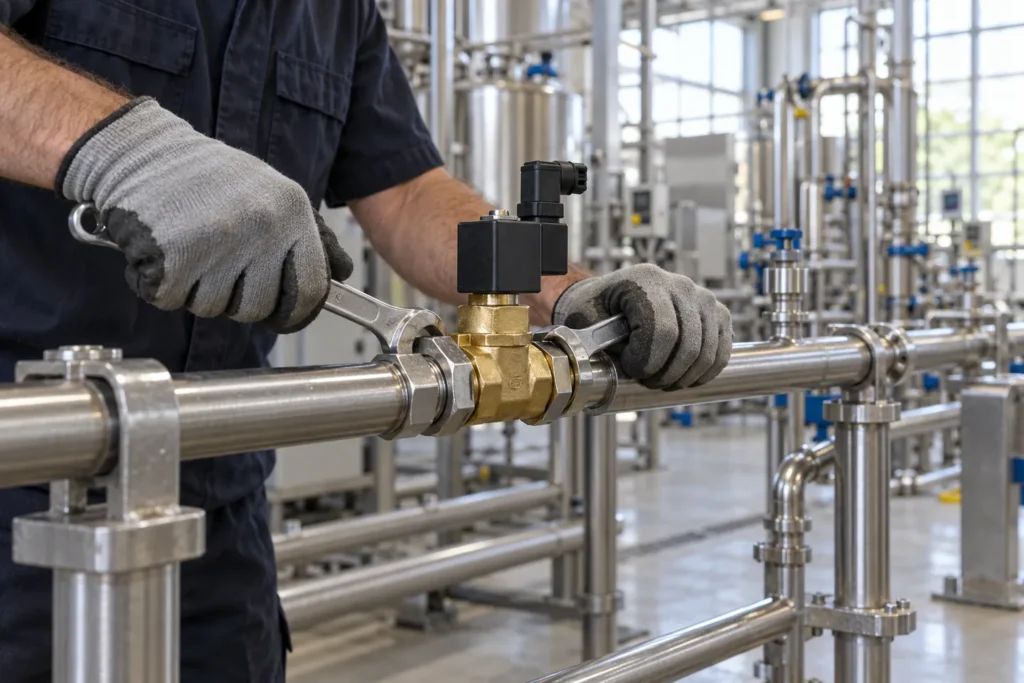
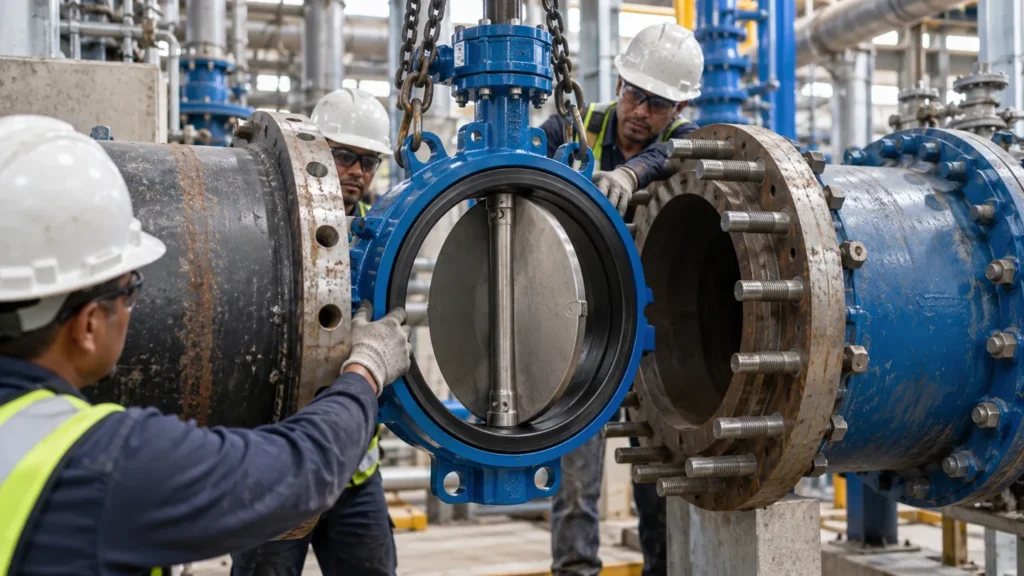
Check valves are essential components in fluid control systems, serving to regulate flow and prevent backflow. With various types, materials, and configurations available, selecting the right check valve can be a daunting task. In this comprehensive guide, we’ll walk you through a step-by-step process to help you navigate the complexities and choose the perfect check valve for your application needs.
Source: saVRee
Step 1: Understand Check Valve Basics
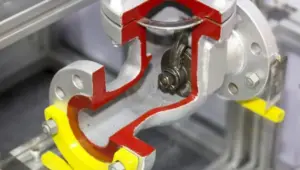
Check valves, also known as non-return valves, allow fluid flow in one direction while preventing reverse flow. Different types of check valves include swing check valves, lift check valves, and spring-loaded check valves, each with unique features and applications. Familiarize yourself with the function and operation of check valves to better assess their suitability for your specific requirements.
Step 2: Identify Application Requirements
Assess the specific needs of your application, considering factors such as:
– Fluid type: Determine the type of fluid the check valve will be handling, including liquid, gas, or steam.
– Flow rate: Calculate the expected flow rate to ensure the check valve can handle the anticipated volume.
– Pressure conditions: Consider the operating pressure range to select a check valve with suitable pressure ratings.
– Temperature range: Take into account the temperature variations the check valve will be exposed to and choose materials accordingly.
– System compatibility: Ensure compatibility with existing piping systems and other components in the fluid control system.
Step 3: Evaluate Check Valve Types
Explore the different types of check valves available and their respective advantages and limitations:
– Swing check valves: Utilize a swinging disc to allow or block flow based on fluid pressure.
– Lift check valves: Feature a vertically moving disc to regulate flow.
– Spring-loaded check valves: Incorporate a spring mechanism to assist in valve closure and prevent backflow.
Consider the specific requirements of your application to determine which type of check valve best suits your needs.
Step 4: Consider Material Options
Selecting the right material is crucial for ensuring the longevity and reliability of your check valve:
– Common materials include stainless steel, brass, bronze, PVC, and various alloys.
– Consider factors such as corrosion resistance, chemical compatibility, and temperature tolerance when choosing materials.
– Ensure that the selected material is suitable for the fluid being controlled and the environmental conditions of your application.
Step 5: Assess End Connection Options
Check valves are available with various end connections to accommodate different installation requirements:
– Threaded connections: Provide ease of installation and maintenance, suitable for smaller-sized valves.
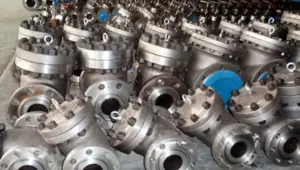
– Flanged connections: Offer robust sealing and structural integrity, ideal for high-pressure applications.
– Wafer connections: Feature a compact design for space-constrained installations.
Select the appropriate end connection based on compatibility with your existing piping system and installation preferences.
Step 6: Determine Valve Size and Pressure Ratings
Proper sizing and pressure ratings are essential for ensuring optimal performance and reliability:
– Calculate the appropriate valve size based on factors such as pipe diameter, flow rate, and pressure drop.
– Choose a check valve with pressure ratings that align with the operating conditions of your application to prevent valve failure and leakage.
Step 7: Confirm Compliance with Standards
Ensure that the selected check valve complies with relevant industry standards and regulations:
– Verify compliance with standards such as API, ANSI, and ASTM to guarantee quality, safety, and performance.
– Look for certification or compliance statements from reputable manufacturers to validate adherence to standards.
Conclusion
By following this step-by-step guide, you can navigate the complexities of selecting a check valve with confidence and precision. Consider the specific requirements of your application, evaluate different types and materials, and ensure compliance with industry standards to choose the perfect check valve for optimal performance and reliability in your fluid control system. Remember to consult with industry experts and trusted suppliers for additional guidance and support throughout the selection process. Any interested in check valve, welcome any inquiries from you. Consult us at sales@vincervalve.com